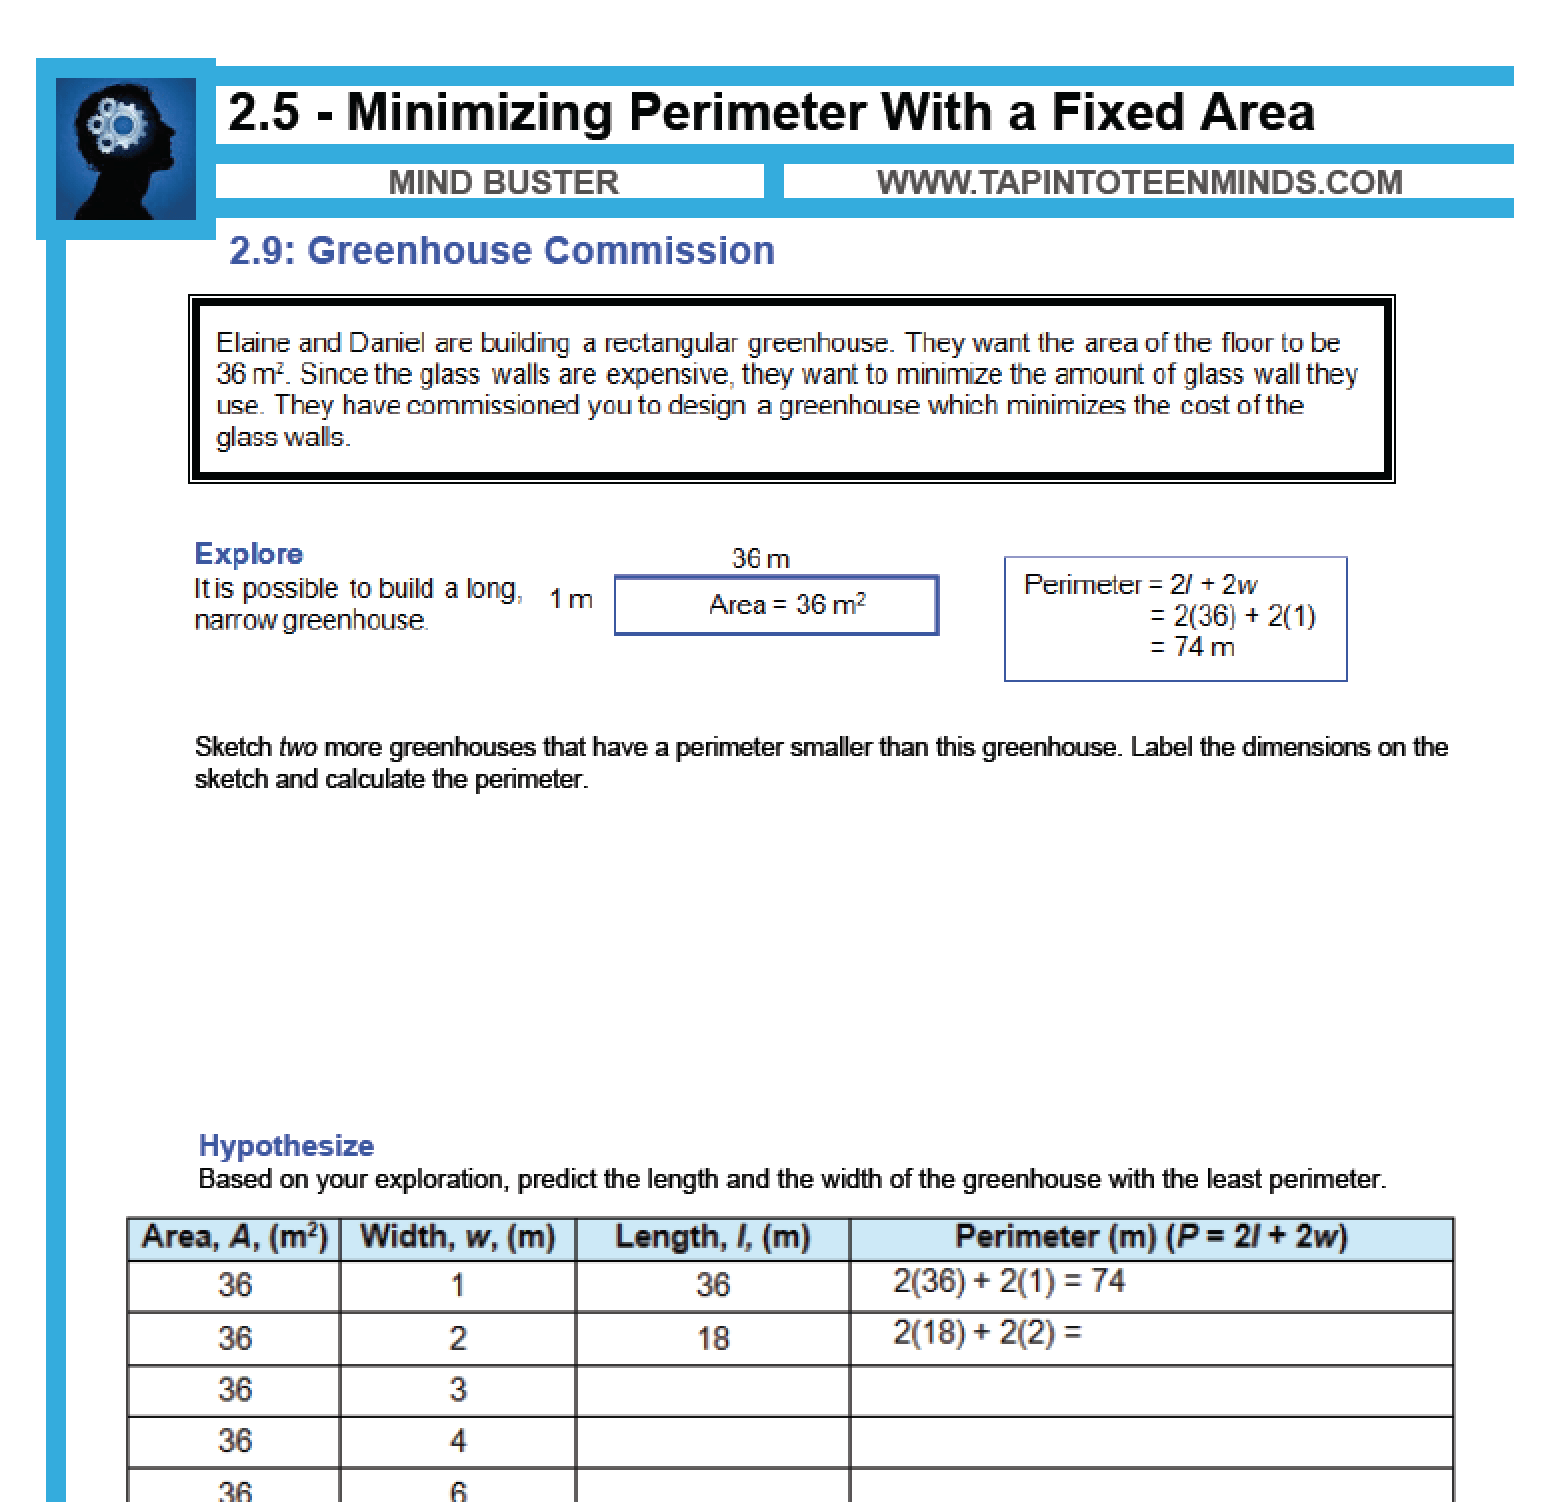
2.5 – Minimizing Perimeter With a Fixed Area
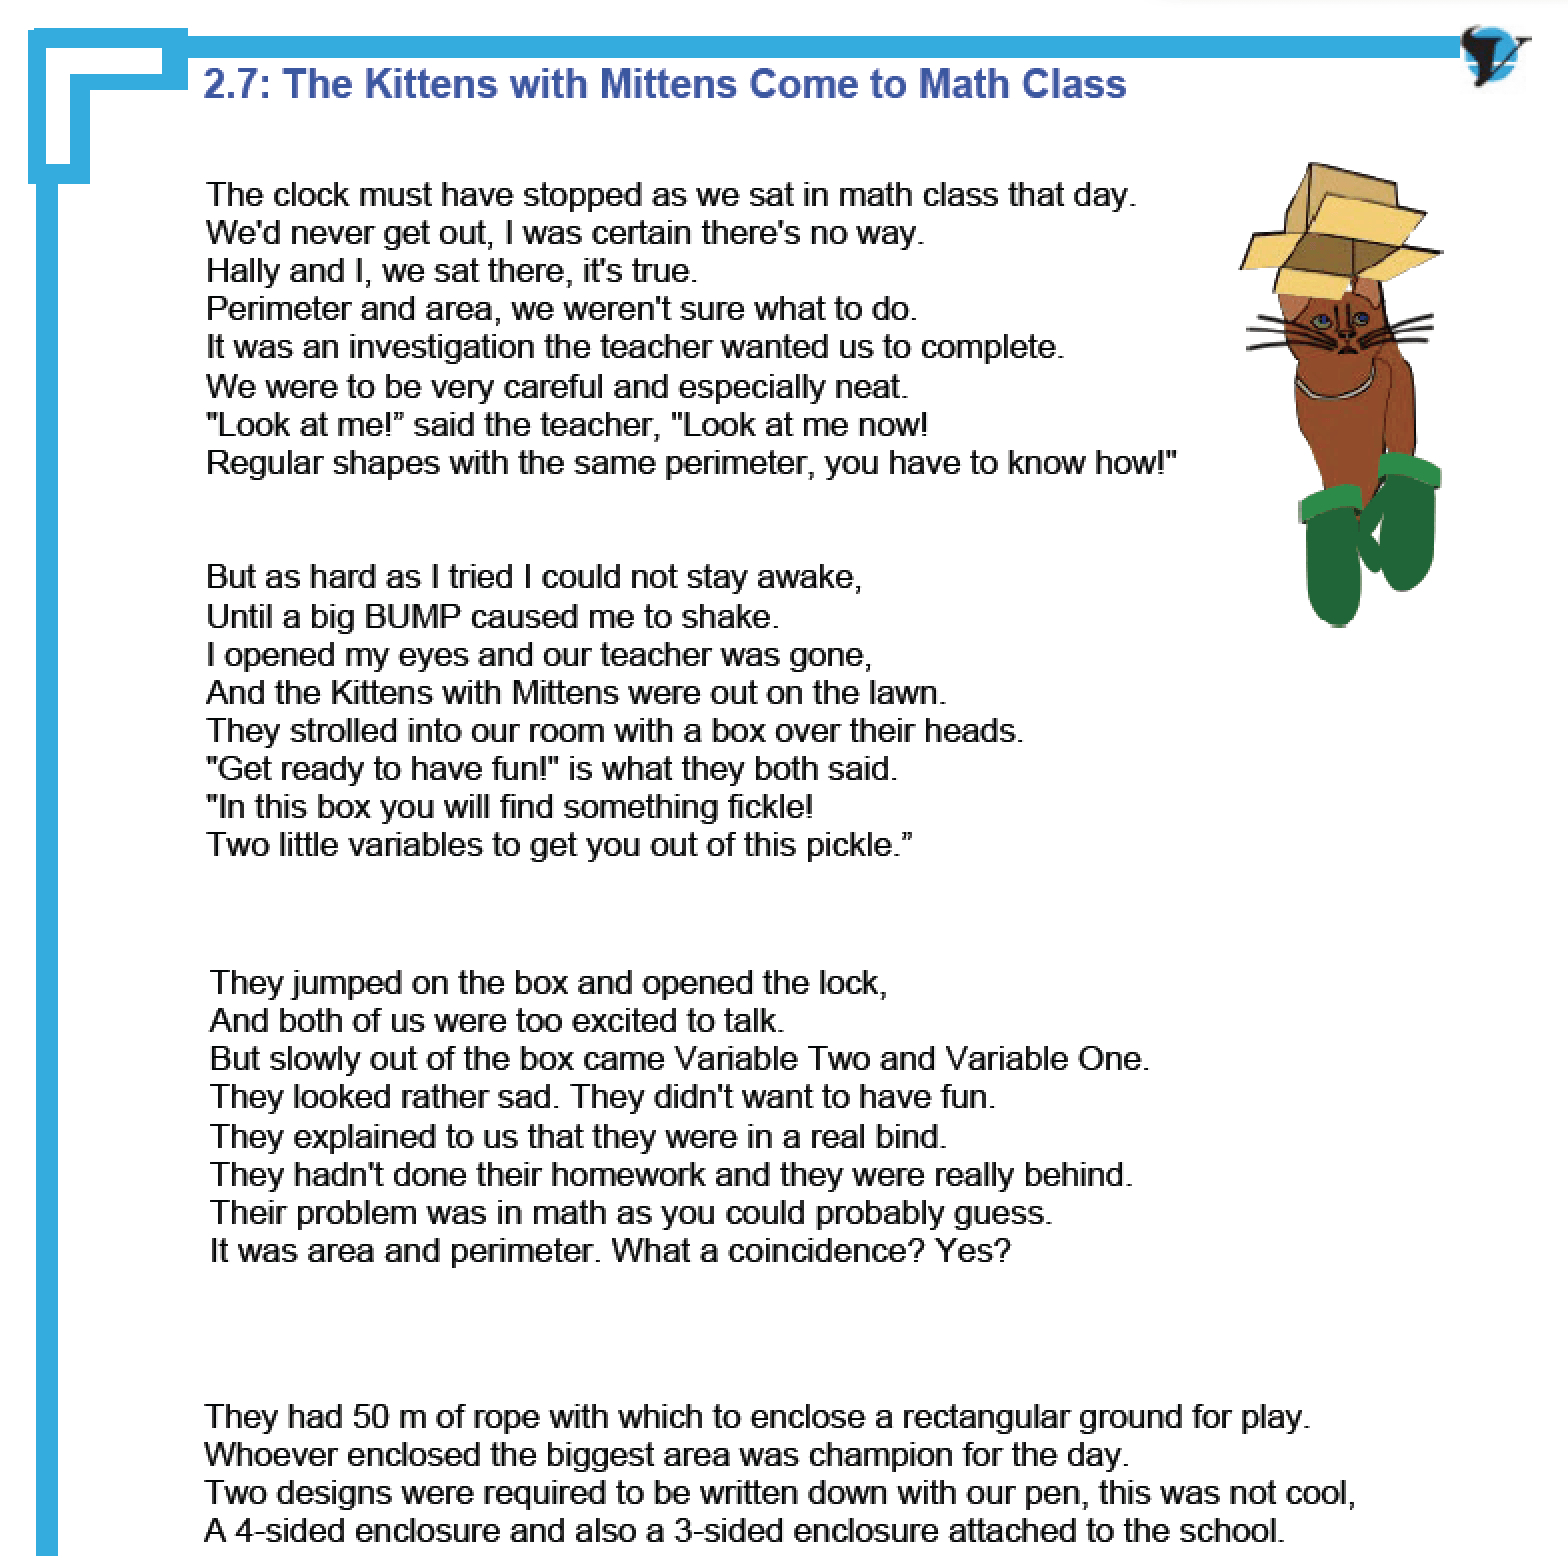
2.4 – Kittens With Mittens Investigations
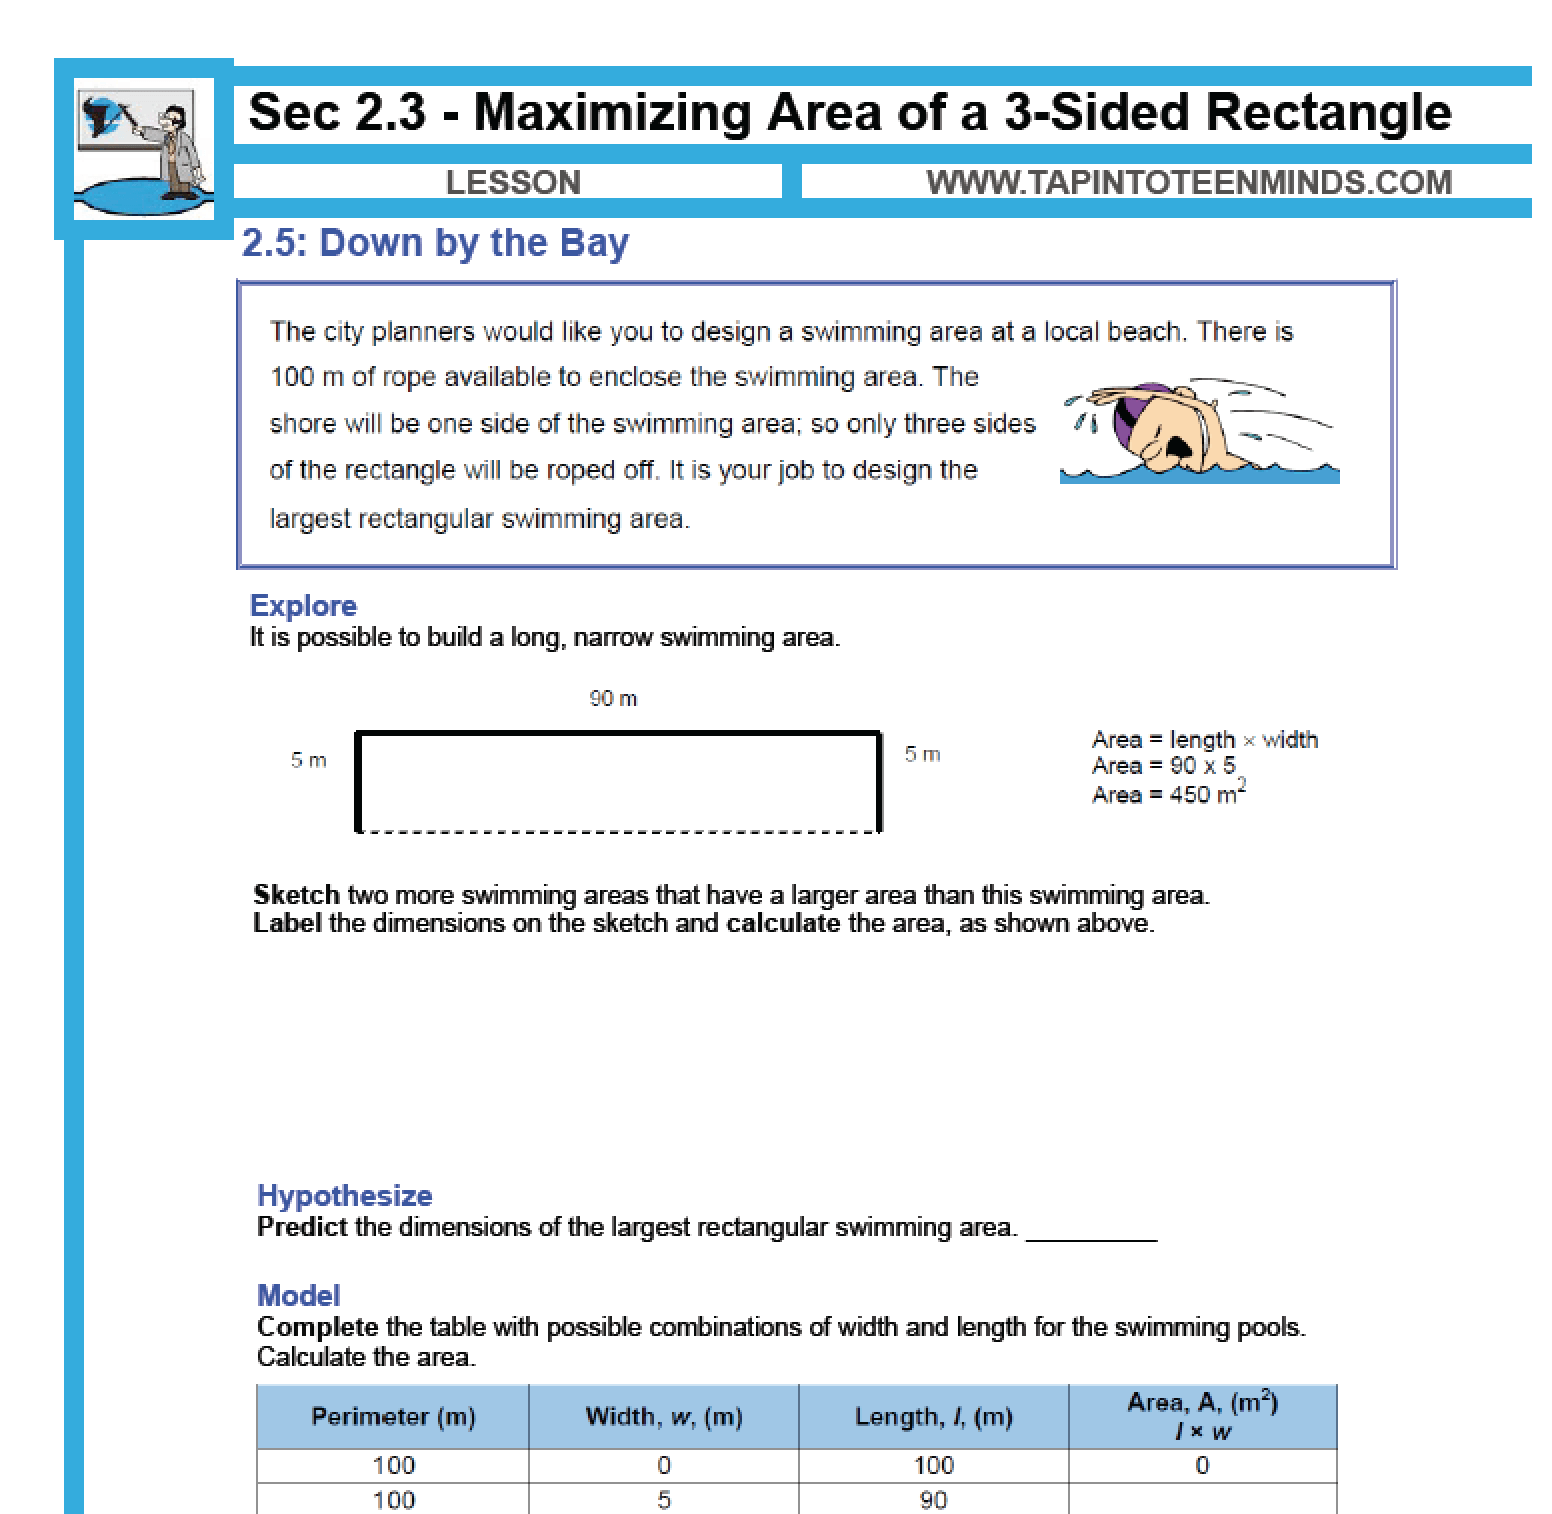
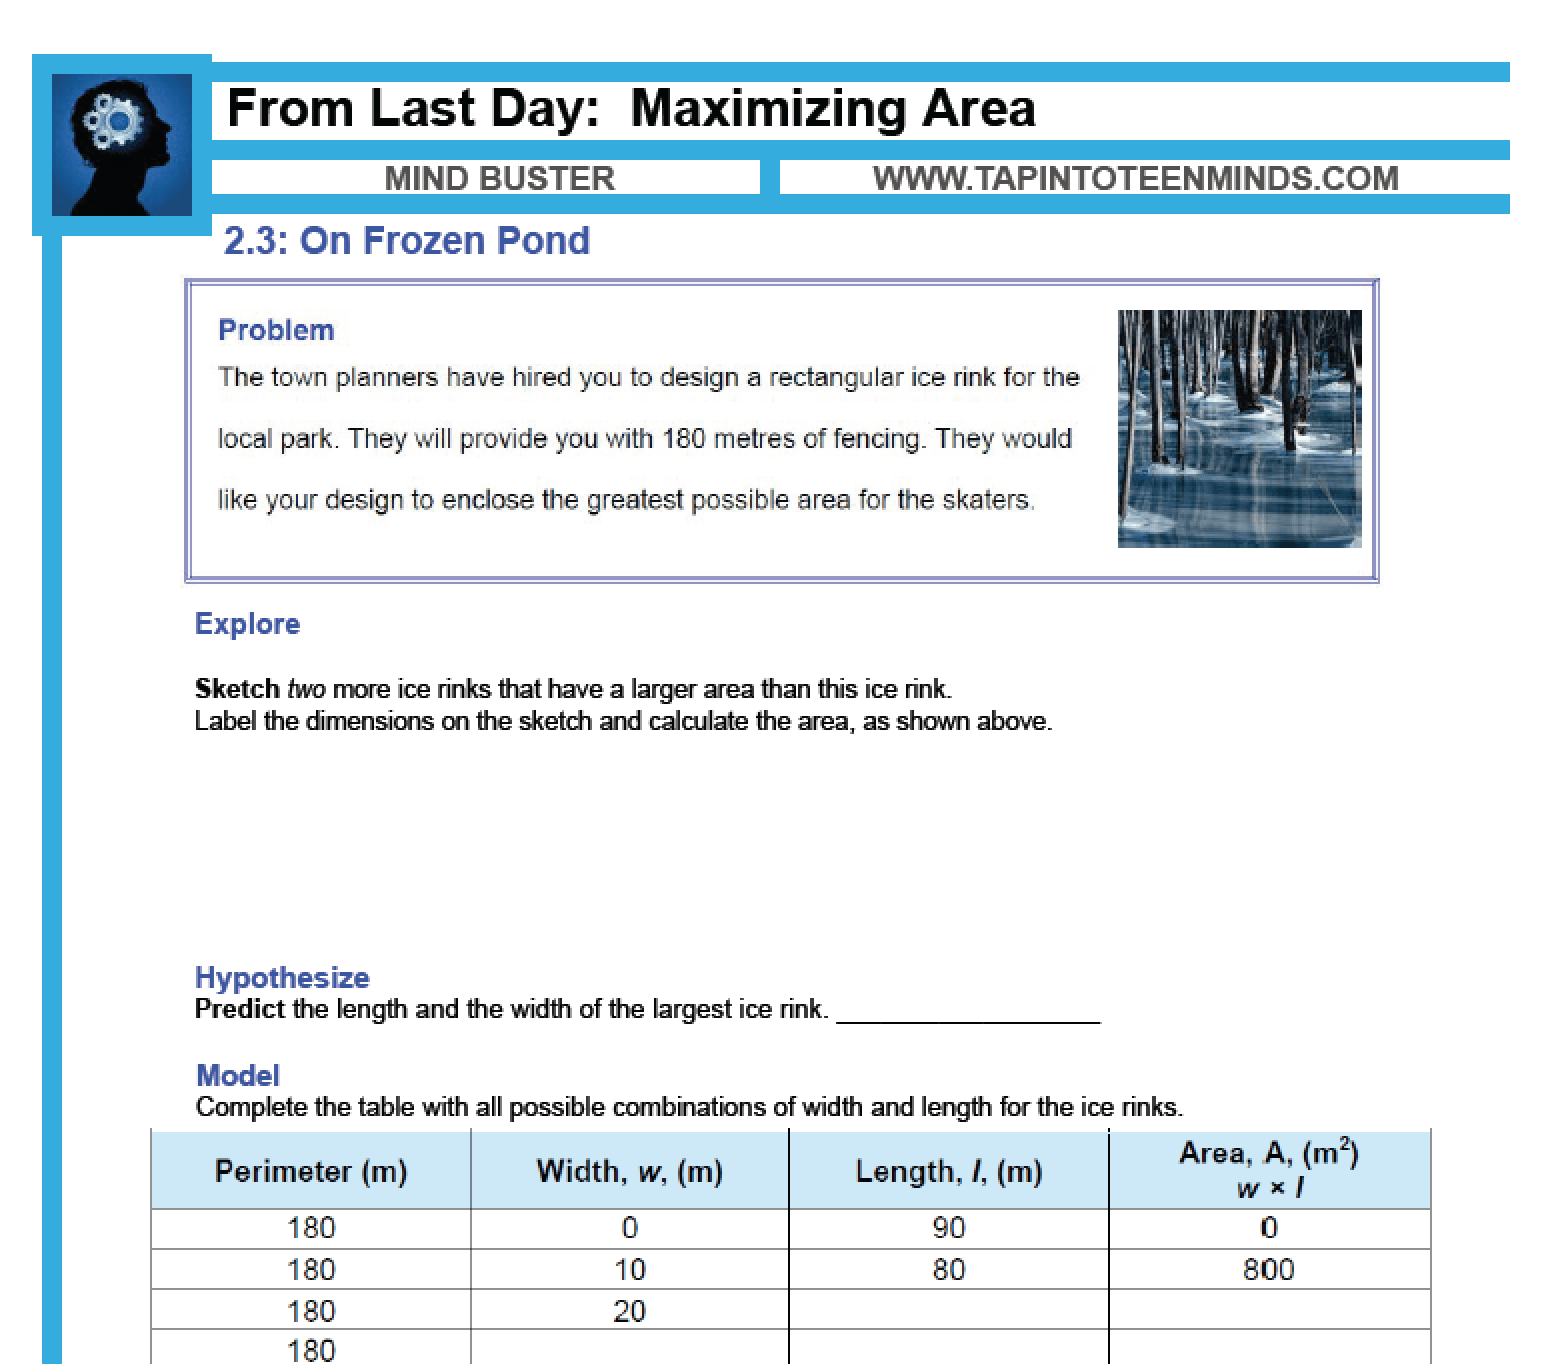
2.3 – Maximizing Area With 3-Sides
2.2 – Maximizing Area With 4-Sides
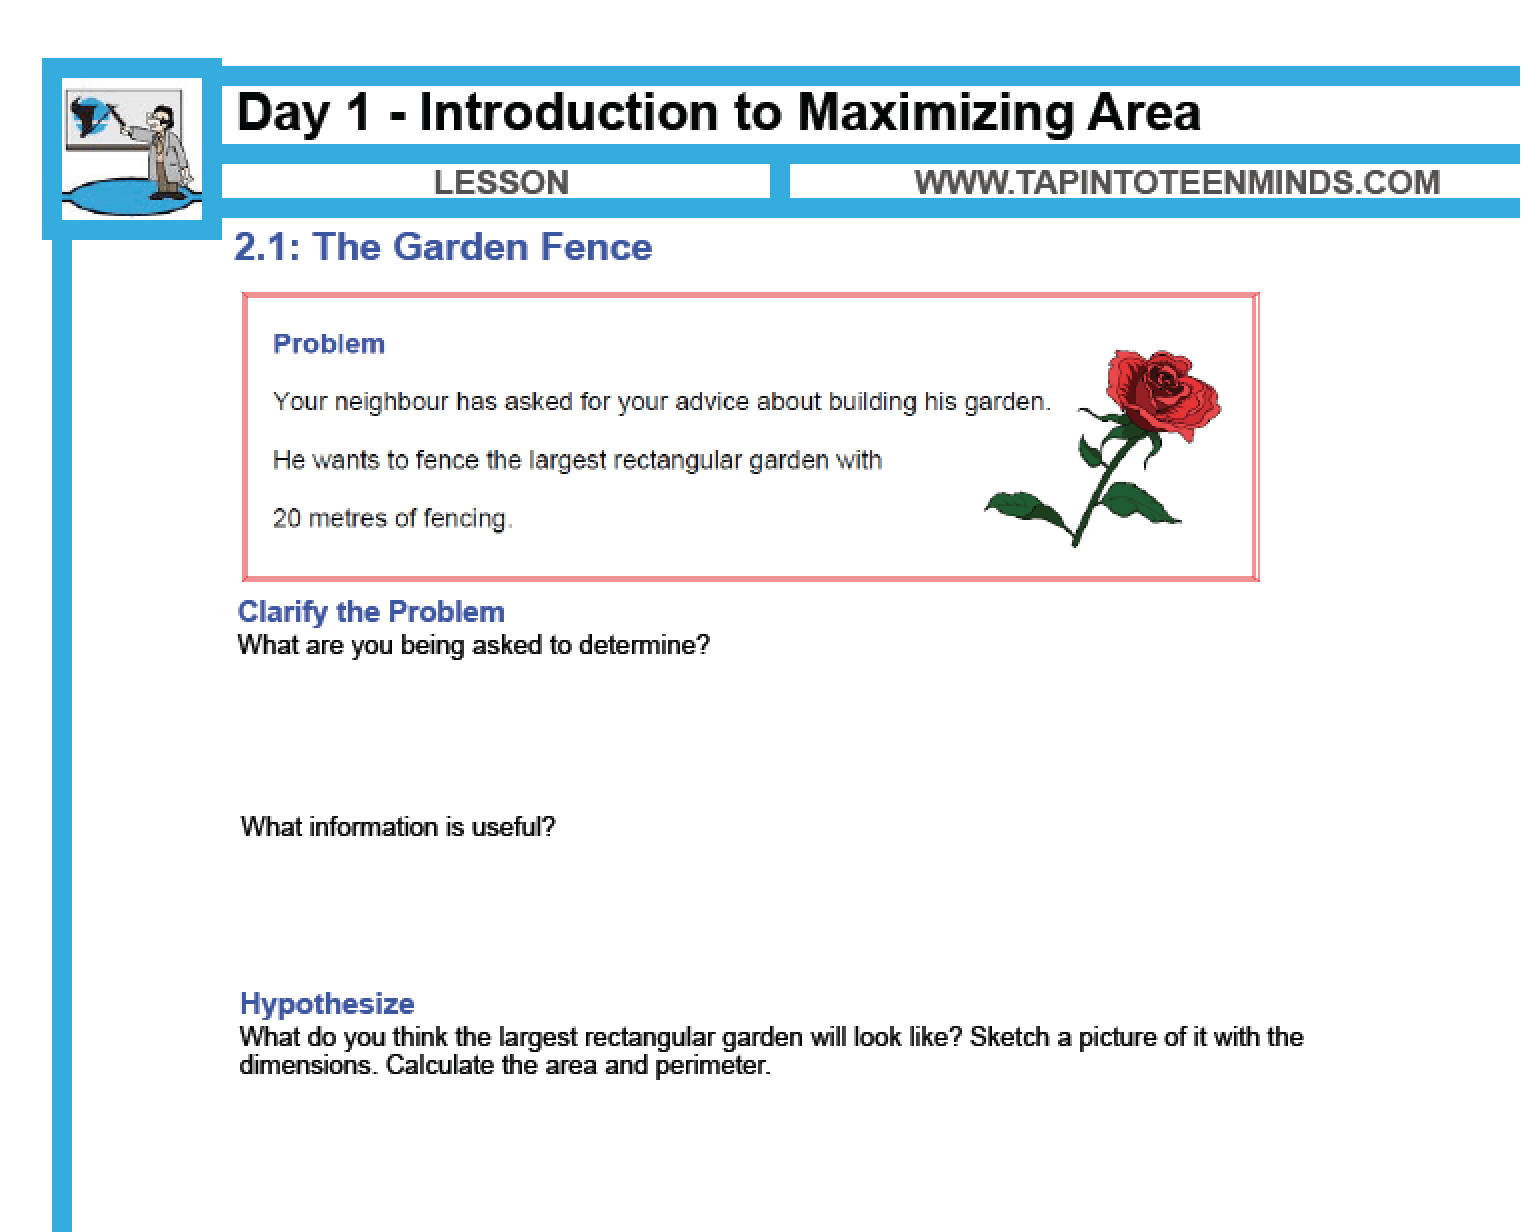
2.1 – Introduction to Maximizing Area
1.7.R – Unit 1 Review
1.6 – More Pythagorean Theorem
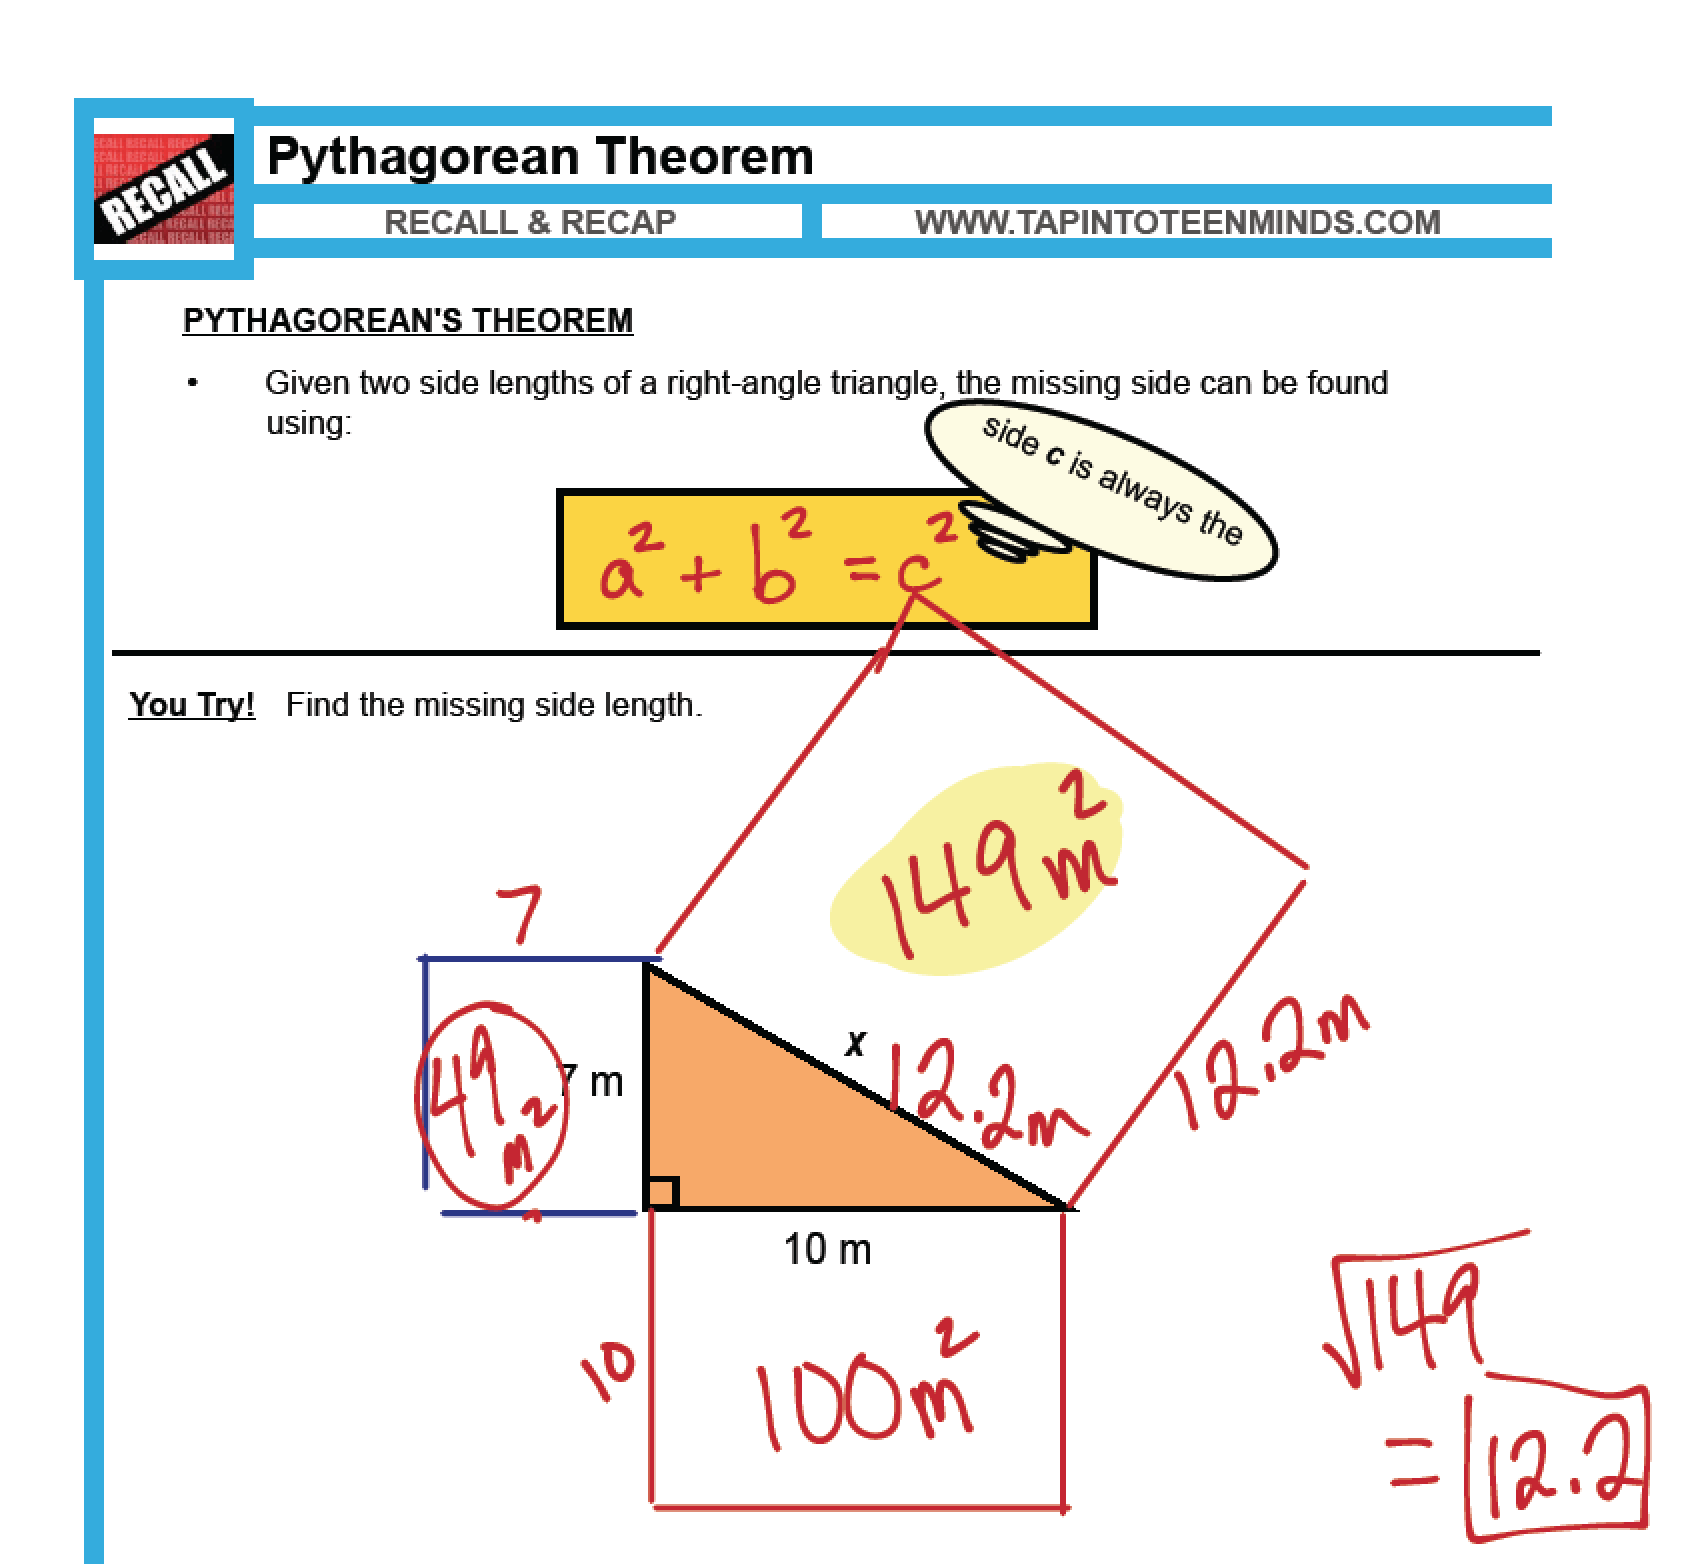
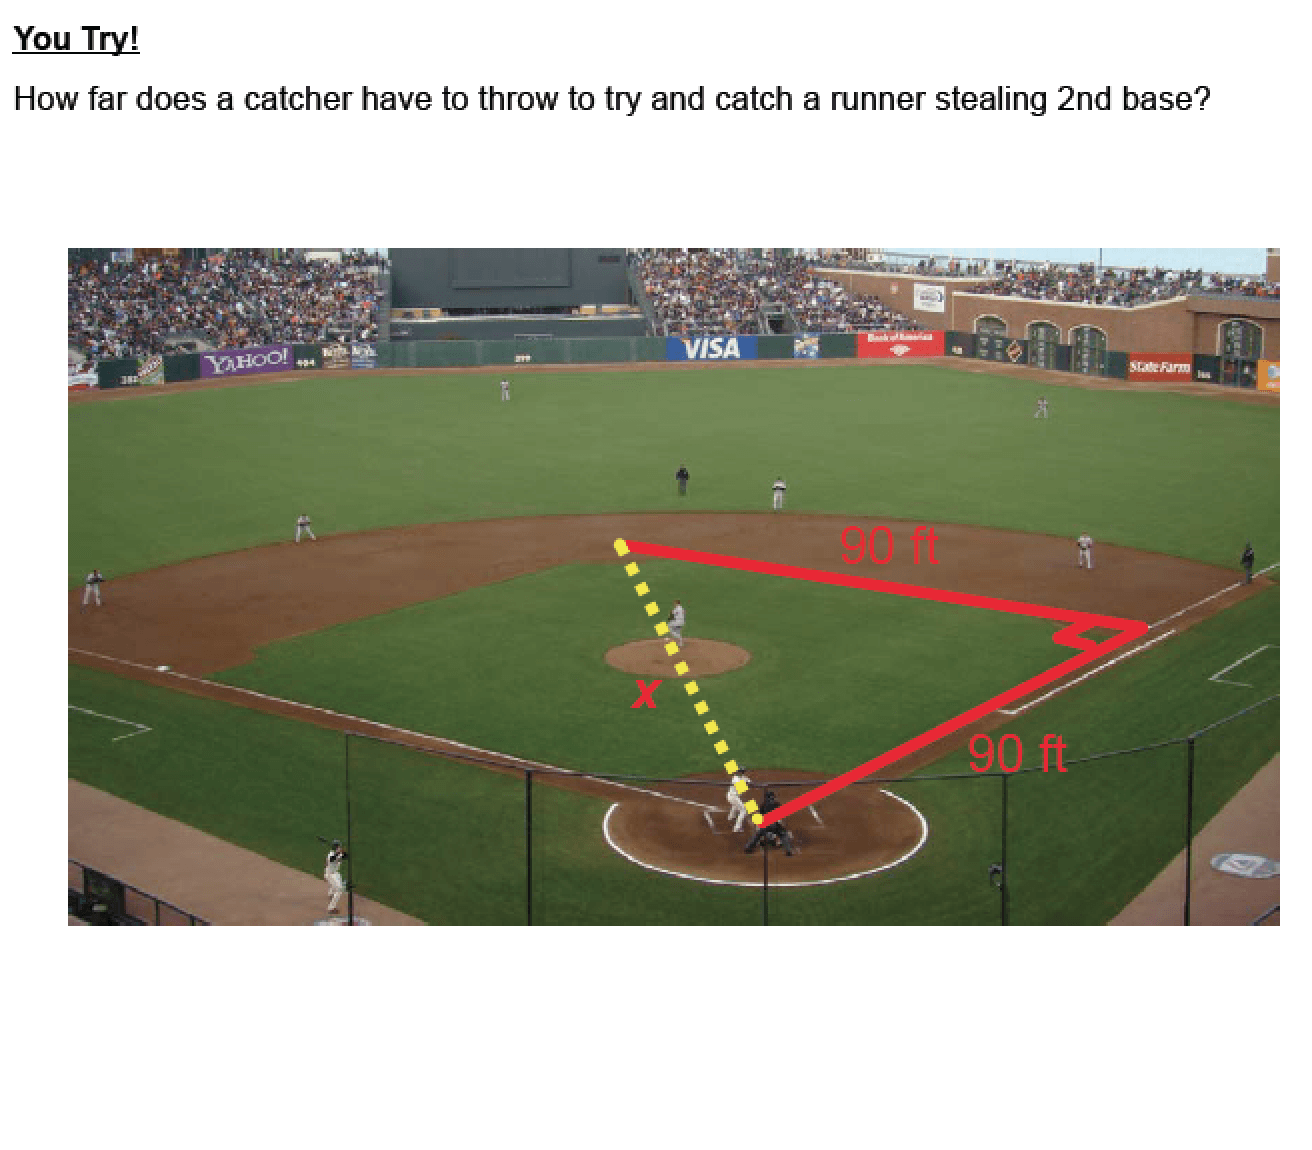
1.5 – Pythagorean Theorem
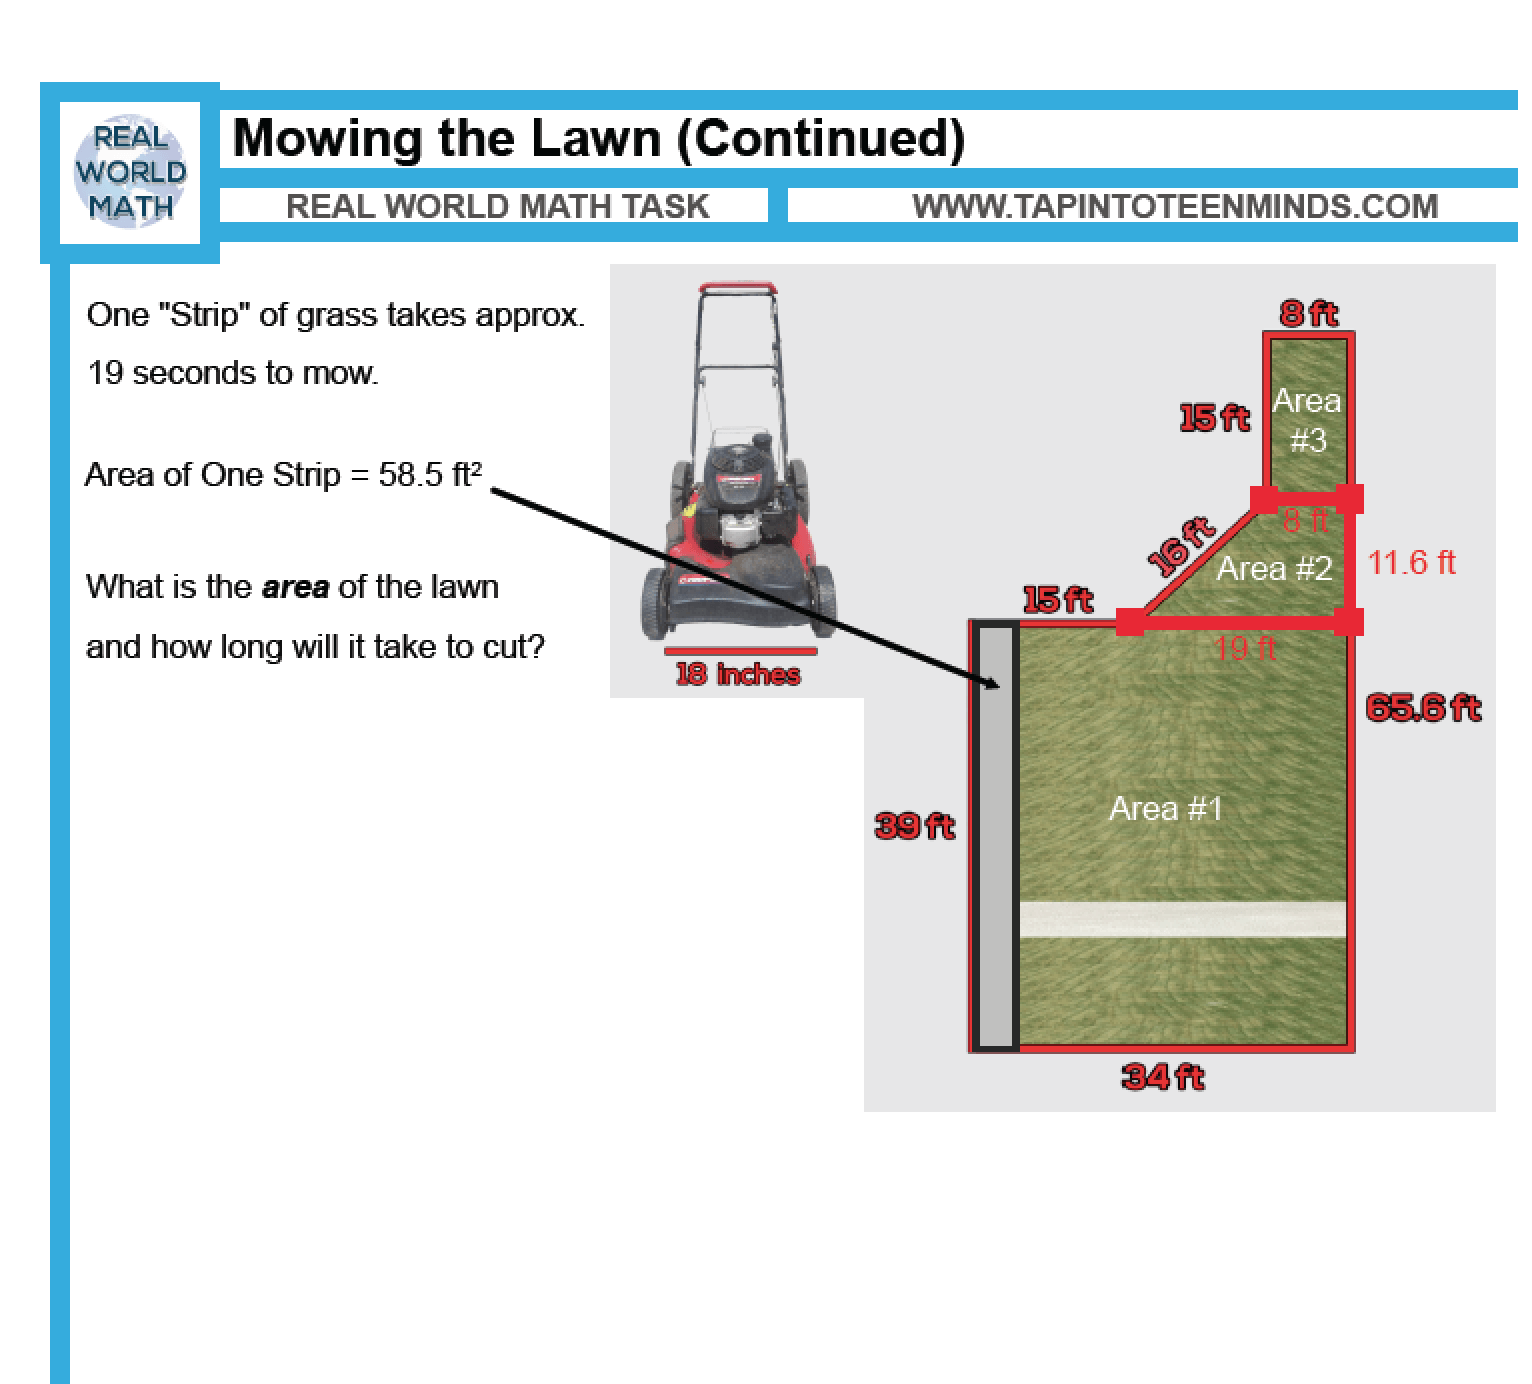
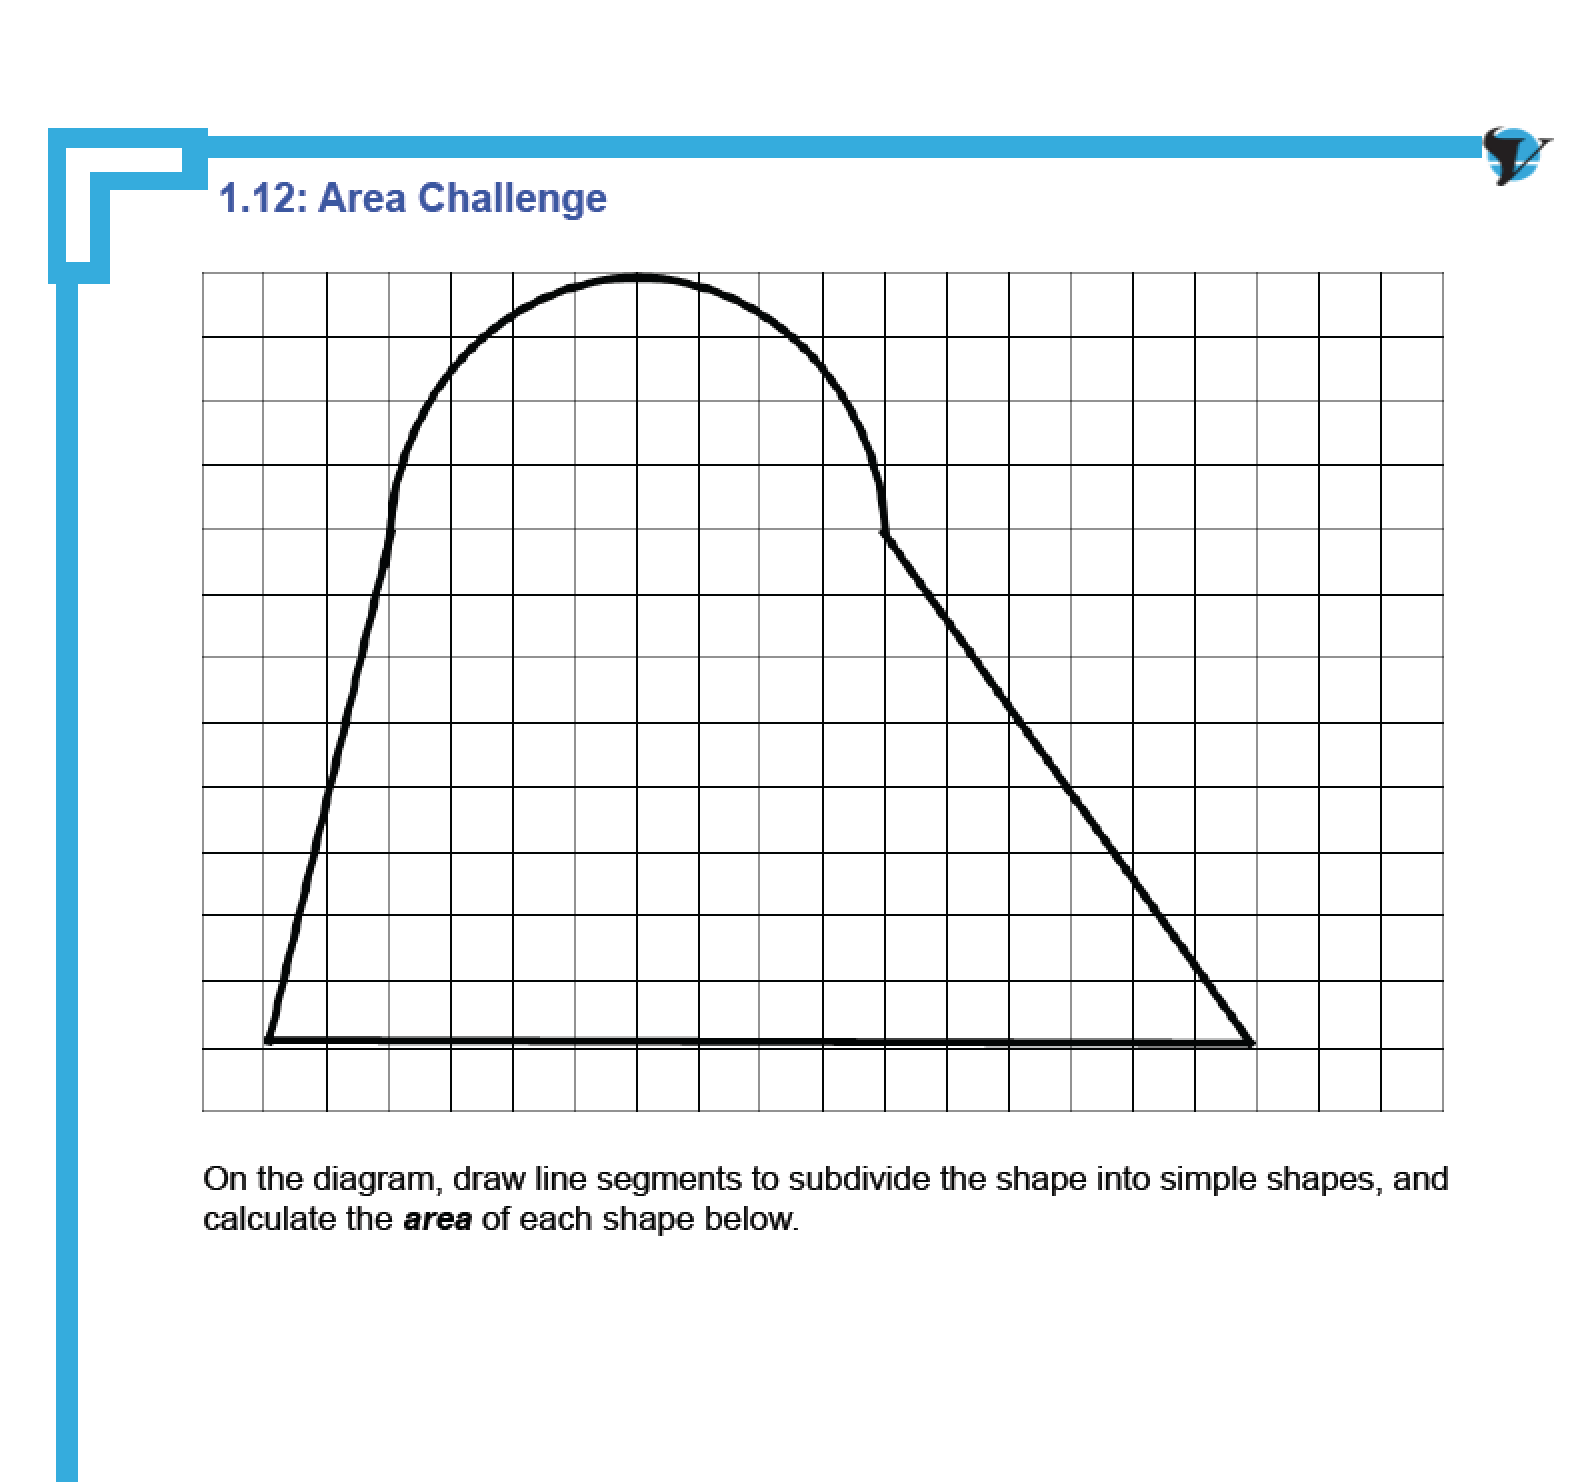
1.4 – More Composite Figures
1.3 – Composite Figures
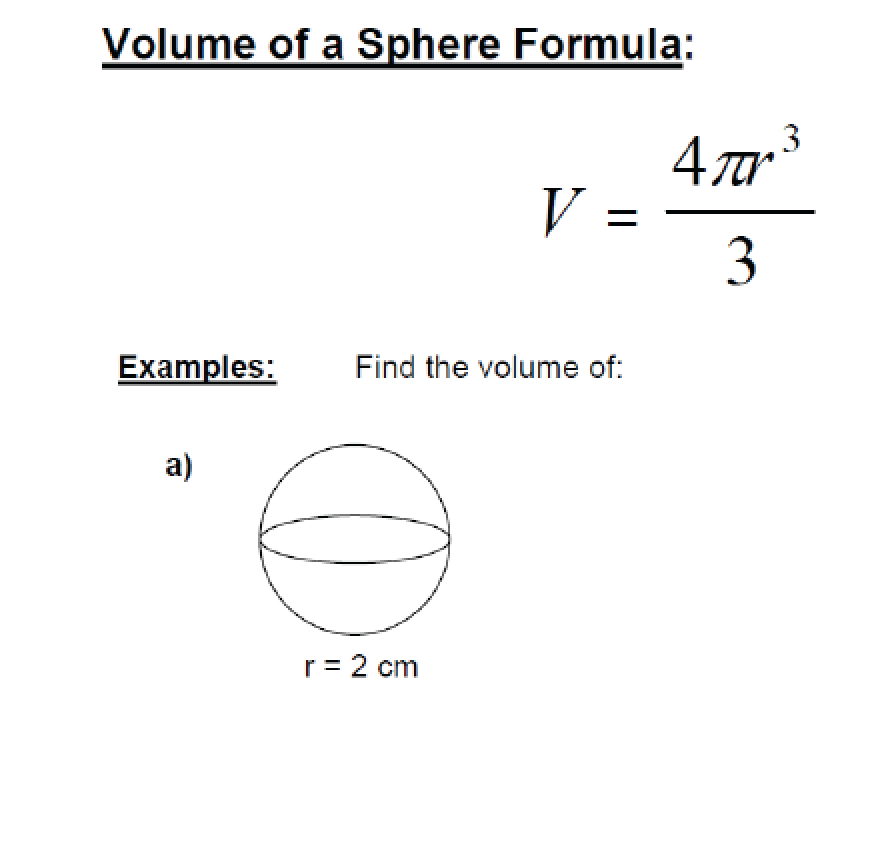
1.2 – Volume of a Sphere

1.1 – Volume of Pyramids and Cones
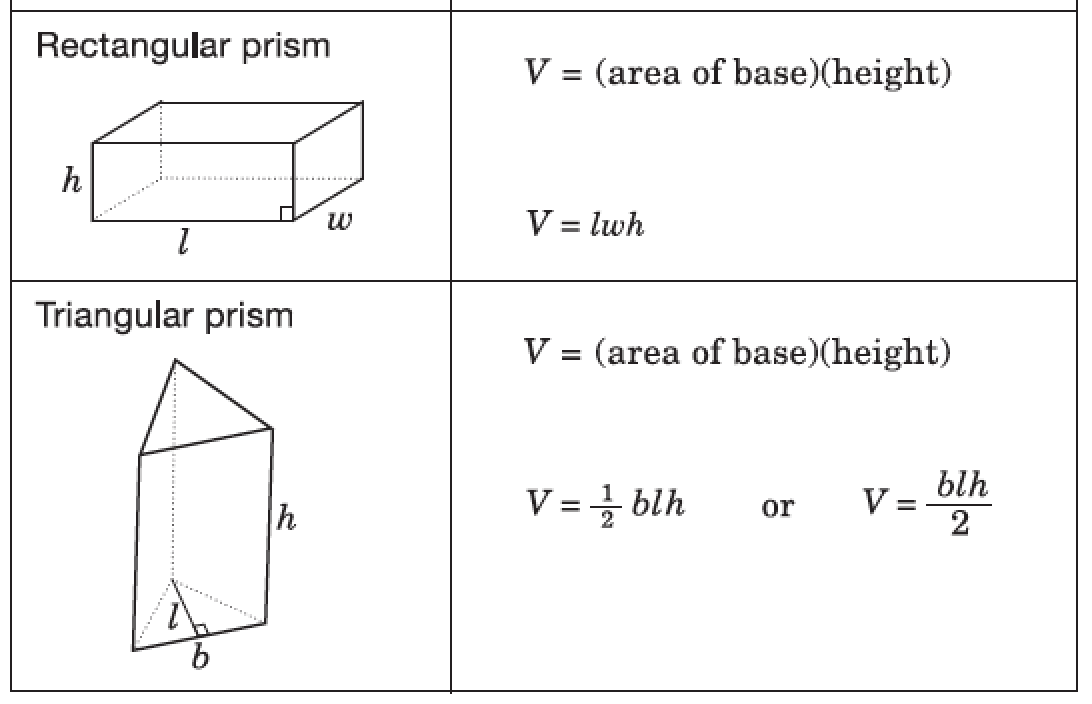
0.3 – Volume of a Prism